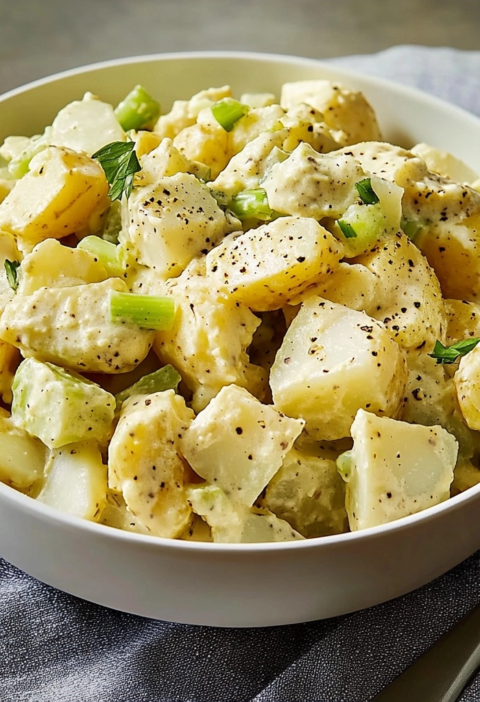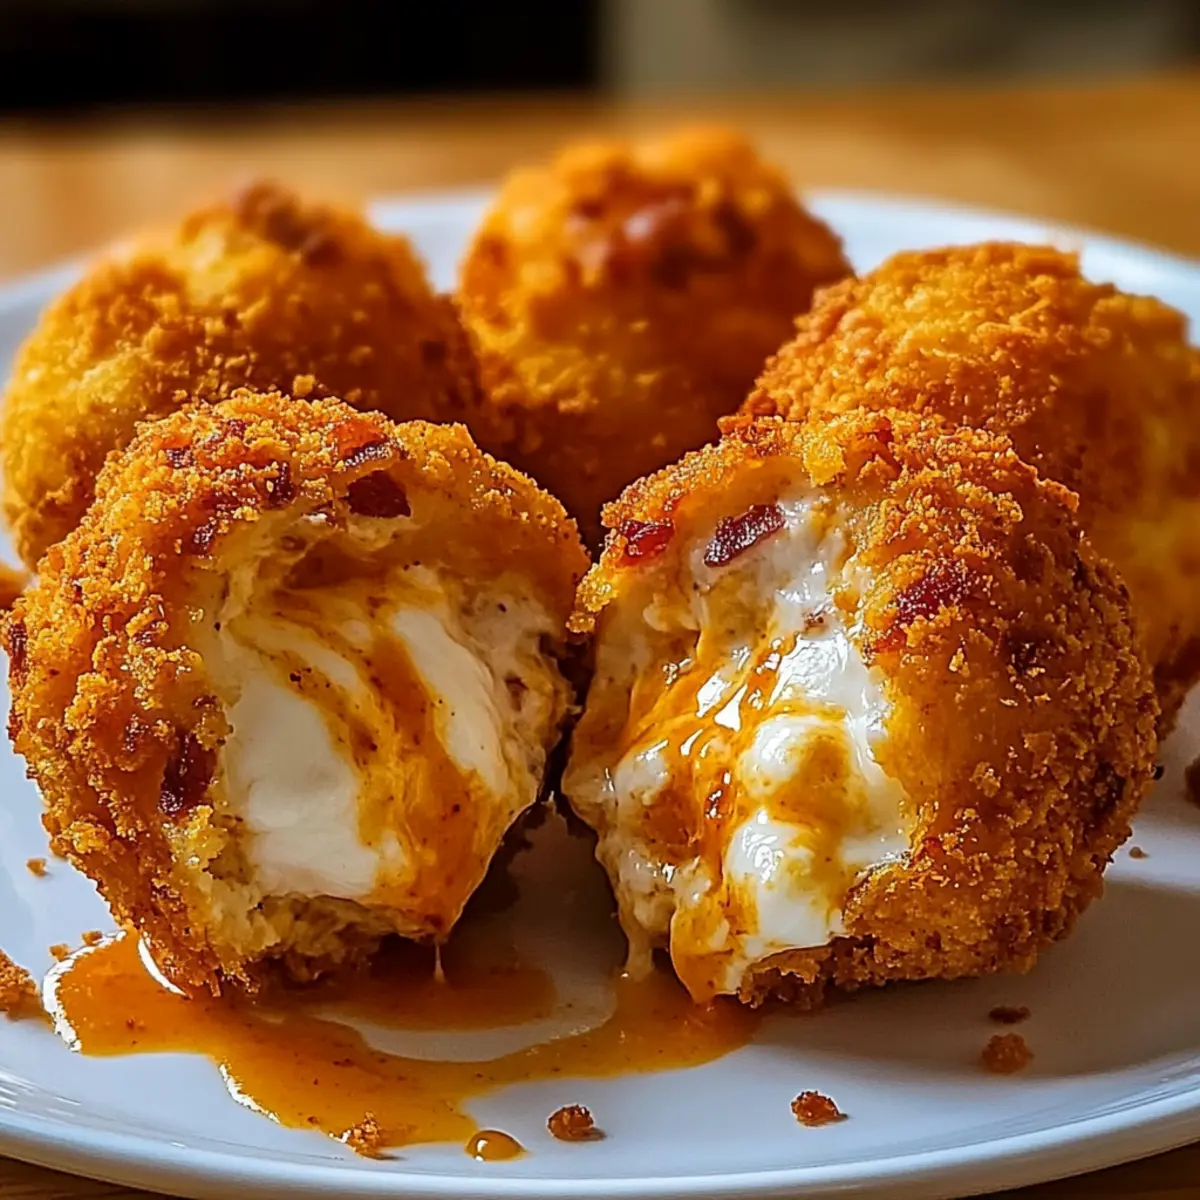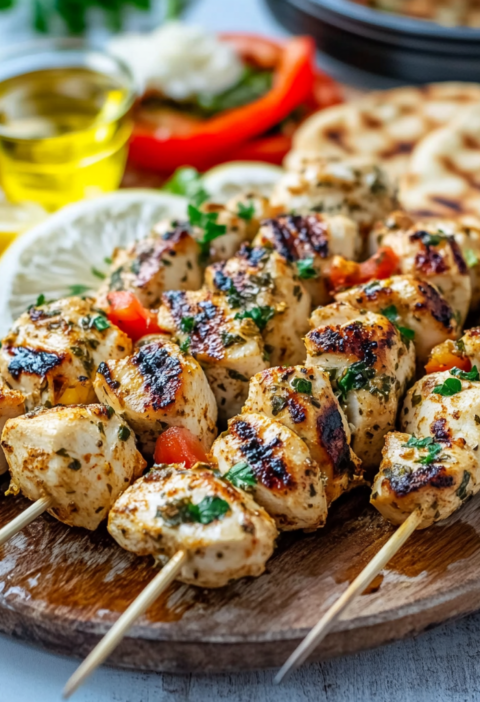
Crunchy Coconut Shrimp is a delightful seafood appetizer that combines the savory taste of shrimp with the sweet and nutty flavor of toasted coconut flakes. This classic dish is perfect for any gathering, offering a texture contrast that is both satisfying and indulgent. The crisp exterior paired with the tender interior creates an irresistible bite that guests will request again.
| Detail | Information |
|---|---|
| Prep Time | 20 minutes |
| Cook Time | 15 minutes |
| Total Time | 35 minutes |
| Servings | 6 people |
| Difficulty | Medium |
| Cuisine | American |
| Category | Appetizer |
| Method | Frying |
Why This Recipe Works
This Coconut Shrimp recipe delivers exceptional results by balancing the sweetness of the coconut with the savory depth of the seasoned shrimp. The batter creates a secure coating that keeps the shrimp moist while frying, ensuring a juicy interior every time. I have tested this method repeatedly to ensure the texture remains golden and crispy without becoming greasy.
Using a combination of flour and baking powder in the batter helps to create a light, airy crust that adheres well to the coconut flakes. This prevents the shell from sliding off during the frying process and ensures a uniform golden-brown color throughout. The coconut adds a tropical flair that elevates the dish far beyond standard fried seafood.
Furthermore, keeping the coated shrimp chilled in the refrigerator before frying solidifies the batter. This step is crucial as it prevents the mixture from falling off when the shrimp hits the hot oil. By controlling heat and timing, you achieve a restaurant-quality appetizer in your own kitchen without needing complex equipment.
Chef Tips for Perfect Results
To ensure success, follow these essential tips that focus on handling the batter and monitoring oil temperature.
- Temperature Control: Maintaining the oil at 350 degrees Fahrenheit is critical for even cooking. If the oil is too cool, the shrimp will absorb too much fat. If too hot, the outside burns before the inside cooks.
- Drying the Shrimp: Pat the raw shrimp completely dry with paper towels before dredging. Excess moisture prevents the flour from sticking properly and can cause oil splattering.
- Batter Consistency: Whisk the mixture until smooth and free of lumps. A thick batter helps the coconut adhere, while a thin one may run off too quickly during the dipping process.
- Cooling Period: Refrigerating the coated shrimp for thirty minutes sets the coating. This ensures the coconut stays on during the frying process rather than loosening and floating away.
- Batch Frying: Do not overcrowd the pan. Frying in batches maintains the oil temperature and prevents the shrimp from steaming instead of frying.
- Draining Excess Oil: Place the cooked shrimp on a wire rack over a baking sheet or on paper towels immediately. This prevents sogginess and removes excess oil effectively.
- Oil Safety: Always have a lid ready to cover the pan if a fire starts. Never use water to extinguish a grease fire.
- Seasoning the Flour: Ensure you season the flour thoroughly before dredging. This adds flavor directly to the coating rather than just relying on the fried shrimp itself.
Common Mistakes to Avoid
Even experienced cooks can encounter issues when preparing this dish, but awareness helps prevent them completely.
| Mistake | Why It Happens | How to Fix It |
|---|---|---|
| Oil Temperature Too Low | Adding shrimp all at once cools the oil. | Fry in smaller batches to maintain heat stability. |
| Batter Sliding Off | Shrimp were wet or coating was too thick. | Pat shrimp dry and ensure a thin, consistent batter layer. |
| Greasy Result | Cooking at a temperature that allows absorption. | Check oil with a thermometer and ensure consistent 350 degrees. |
| Coconut Burning | Leaving the coconut on for too long. | Add the coconut coating just before frying or flip constantly. |
| Undercooked Shrimp | Frying time was too short. | Turn once in the oil and cook until internal temperature reaches 145 degrees. |
| Soggy Texture | Sitting in oil too long or crowded pan. | Drain immediately on a wire rack or paper towels. |
| Brown Sugar Clumps | Sugar in coconut was not mixed well. | Whisk dry ingredients thoroughly before adding to oil. |
Variations and Substitutions
Customizing this dish is easy to accommodate different tastes or dietary needs while keeping the core appeal.
| Ingredient or Element | Substitution or Variation | Impact on Flavor or Texture |
|---|---|---|
| Flour | Almond flour for low-carb diet | Changes texture to be denser and nuttier. |
| Beer | Non-alcoholic beer | Maintains carbonation for batter lift without alcohol. |
| Coconut | Crushed pineapple | Increases sweetness and adds a tropical tang. |
| Baking Powder | Sparkling water | Adds air bubbles for crispier crust texture. |
| Sherbert | Glaze topping | Adds a sticky sweet finish similar to sweet and sour. |
| Pot Stickers | Baking alternative | Reduces fat but results in less crispiness. |
| Swordfish | Alternative protein | Changes texture profile while keeping flavor profile intact. |
| Zucchini | Vegetable side | Balances the richness of the fried shrimp with crunch. |
Serving Suggestions and Pairings
This savory dish pairs best with sides that complement the sweet and salty flavor profile without overpowering it.
- Serve with a fresh green salad lightly dressed in a citrus vinaigrette.
- Pair with coleslaw that offers a creamy crunch to contrast the shrimp.
- Offer a warm pineapple dipping sauce for sweetness.
- Garnish with lime wedges to add a zesty kick to the flavor.
- Pair with cold ginger beer or sparkling water as a beverage.
- Include steamed rice to soak up any extra sweet or spicy sauce.
- Offer fried plantains as a starchy side dish option.
- Consider a mango salsa to add a fresh fruity note.
- Serve with a garlic naan bread for a fusion twist.
- Include fresh cucumber slices to cleanse the palate between bites.
- Add a side of cornbread for a comforting element.
- Pair with a light beer alternative to match the theme.
For a complete meal idea, serve the Coconut Shrimp with a simple quinoa salad and a refreshing lemon herb water. This combination provides balanced nutrition and flavor for a dinner party centerpiece.
Make Ahead Options
You can prepare many parts of this recipe up to twenty-four hours in advance without sacrificing quality. The coating process is the most time-consuming part, so getting this done early allows for a smoother cooking night.
You can coat the shrimp and store them in the refrigerator for up to twelve hours before frying. Cover them loosely with plastic wrap to prevent them from drying out while they chill. Just before cooking, remove them from the fridge to allow them to come to room temperature. This ensures they cook evenly when placed in the hot oil.
Storage and Reheating
Proper storage methods are essential for maintaining safety and texture for leftovers.
| Method | Duration | Instructions |
|---|---|---|
| Room Temperature | 2 hours | Leave on a plate covered with a clean cloth. |
| Refrigerator | 3 days | Store in an airtight container to preserve moisture. |
| Freezer | 1 month | Flash freeze on a tray before bagging for best results. |
| Reheating | 350 degrees | Oven for 10 minutes to restore crispiness. |
| Make Ahead | 24 hours | Coat and store in the fridge before frying. |
Nutritional Information
Approximate values are based on one serving and may vary depending on exact ingredients and portion size.
| Nutrient | Amount per Serving |
|---|---|
| Calories | 280 |
| Protein | 18 grams |
| Fat | 16 grams |
| Saturated Fat | 4 grams |
| Carbohydrates | 12 grams |
| Fiber | 1 grams |
| Sugar | 3 grams |
| Sodium | 400 mg |
Frequently Asked Questions
Can I use a different type of flour?
Yes, you can use all-purpose flour or even a gluten-free blend for a similar result. The texture will remain consistent regardless of the specific blend chosen for the batter.
What is the best way to check doneness?
Look for a golden brown color and an internal temperature of at least 145 degrees Fahrenheit for the shrimp. The shrimp should be opaque and firm to the touch.
How do I fix a watery batter?
Add more flour gradually until the batter reaches a dip-like consistency that coats the back of a spoon. This ensures the coconut will stick properly.
Can I bake this instead of frying?
Yes, you can bake the shrimp at 400 degrees Fahrenheit for 10 to 12 minutes. The texture will be slightly softer but still flavorful and crispy enough.
What sauce goes best with this dish?
Raspberry dipping sauce or sweet chili sauce provides a tangy complement to the savory shrimp and sweet coconut. These flavors balance beautifully.
How should I store leftover coconut shrimp?
Place the leftovers in an airtight container in the refrigerator within two hours of cooking to prevent bacterial growth. This ensures food safety and freshness.
This dish offers a sweet and savory experience with a satisfying crunch in every bite. The Coconut Shrimp recipe is a crowd-pleaser that brings tropical vibes to any meal. Enjoy the delicious flavor and texture at your next gathering.
Crunchy Coconut Shrimp Recipe for Perfect Flavor
Ingredients
Method
- Preheat oil in a large skillet or deep fryer to 350°F (175°C).
- In a shallow bowl, mix flour, baking powder, salt, paprika, and black pepper.
- Beat the eggs in another bowl.
- Place the shredded coconut and breadcrumbs in a third shallow dish.
- Pat shrimp dry with paper towels. Dredge each shrimp in the flour mixture, shaking off excess.
- Dip the floured shrimp in the beaten eggs, allowing any excess to drip off.
- Coat both sides of the shrimp with the coconut and breadcrumb mixture, pressing gently to adhere.
- Chill the coated shrimp in the refrigerator for at least 15 minutes to firm the coating.
- Fry the shrimp in batches until golden brown and crisp, about 1-2 minutes per batch.
- Remove and drain on paper towels before serving.
Nutrition
Notes
Serve with a side of sweet chili sauce or mango salsa for an extra kick.
Store leftovers in an airtight container for up to 2 days.